

I’m here to help you navigate the world of organic vegetable seeds, so you can grow your own fresh and healthy produce. In this guide, we’ll explore the benefits of choosing organic seeds, understand seed certifications, and evaluate suppliers. We’ll also discuss the importance of selecting the right varieties for your climate and provide tips for starting seeds indoors. Get ready to embark on a journey of successful organic seed growing!
The Benefits of Organic Vegetable Seeds
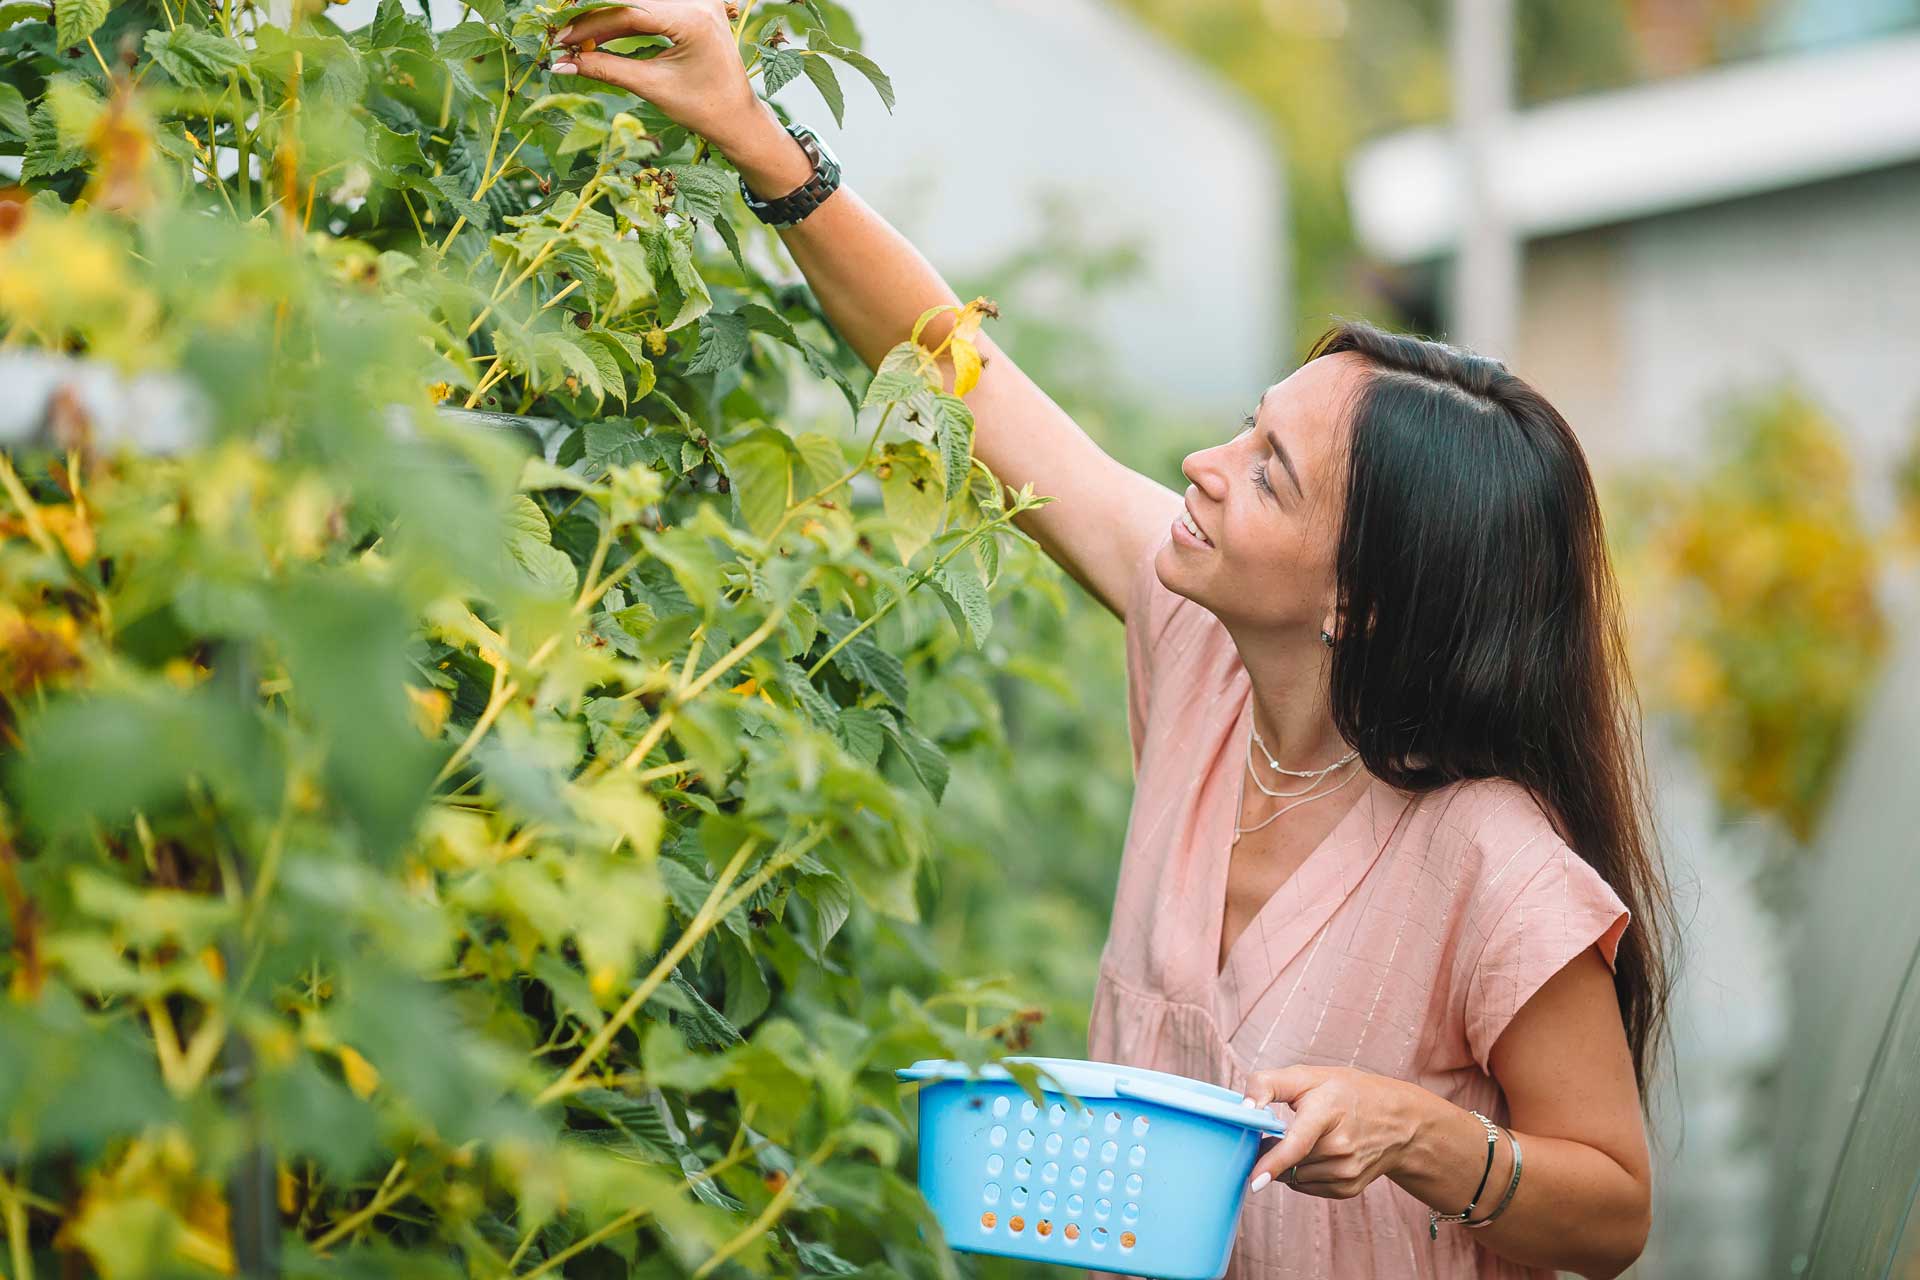
The benefits of organic vegetable seeds are numerous and significant. Choosing to grow your own organic vegetables not only ensures that you have access to fresh, healthy produce, but it also allows you to have control over what goes into your food. Organic vegetable seeds are free from synthetic chemicals, pesticides, and genetically modified organisms (GMOs), which makes them a healthier choice for you and the environment. By using organic seeds, you are supporting sustainable agriculture practices that promote biodiversity and soil health. Additionally, organic vegetables are often more nutrient-dense and have a richer flavor compared to conventionally-grown counterparts. However, it’s important to note that organic vegetable seeds can be more expensive and may have a lower yield compared to non-organic options. It’s important to weigh the advantages and disadvantages before making a decision.
Understanding Organic Seed Certifications
To truly understand the authenticity and quality of organic vegetable seeds, it is important to delve into the world of organic seed certifications. These certifications play a crucial role in ensuring that the seeds you purchase are truly organic and meet the highest standards of quality. Here are some key points to understand about organic seed certifications:
-
Organic seed labeling: Look for labels such as “Certified Organic” or “USDA Organic” on seed packets. These labels indicate that the seeds have been produced and handled in accordance with organic standards.
-
Importance of supporting local seed producers: By purchasing seeds from local producers, you not only support your local economy but also reduce the carbon footprint associated with long-distance transportation.
-
Supporting biodiversity: Organic seed certifications often prioritize biodiversity, encouraging the preservation and promotion of heirloom and rare varieties.
-
Transparency and traceability: Certified organic seed producers are required to maintain detailed records of their production methods, allowing for greater transparency and traceability throughout the supply chain.
Understanding organic seed certifications empowers you to make informed choices and contribute to a sustainable and healthy food system.
Evaluating Seed Companies and Suppliers
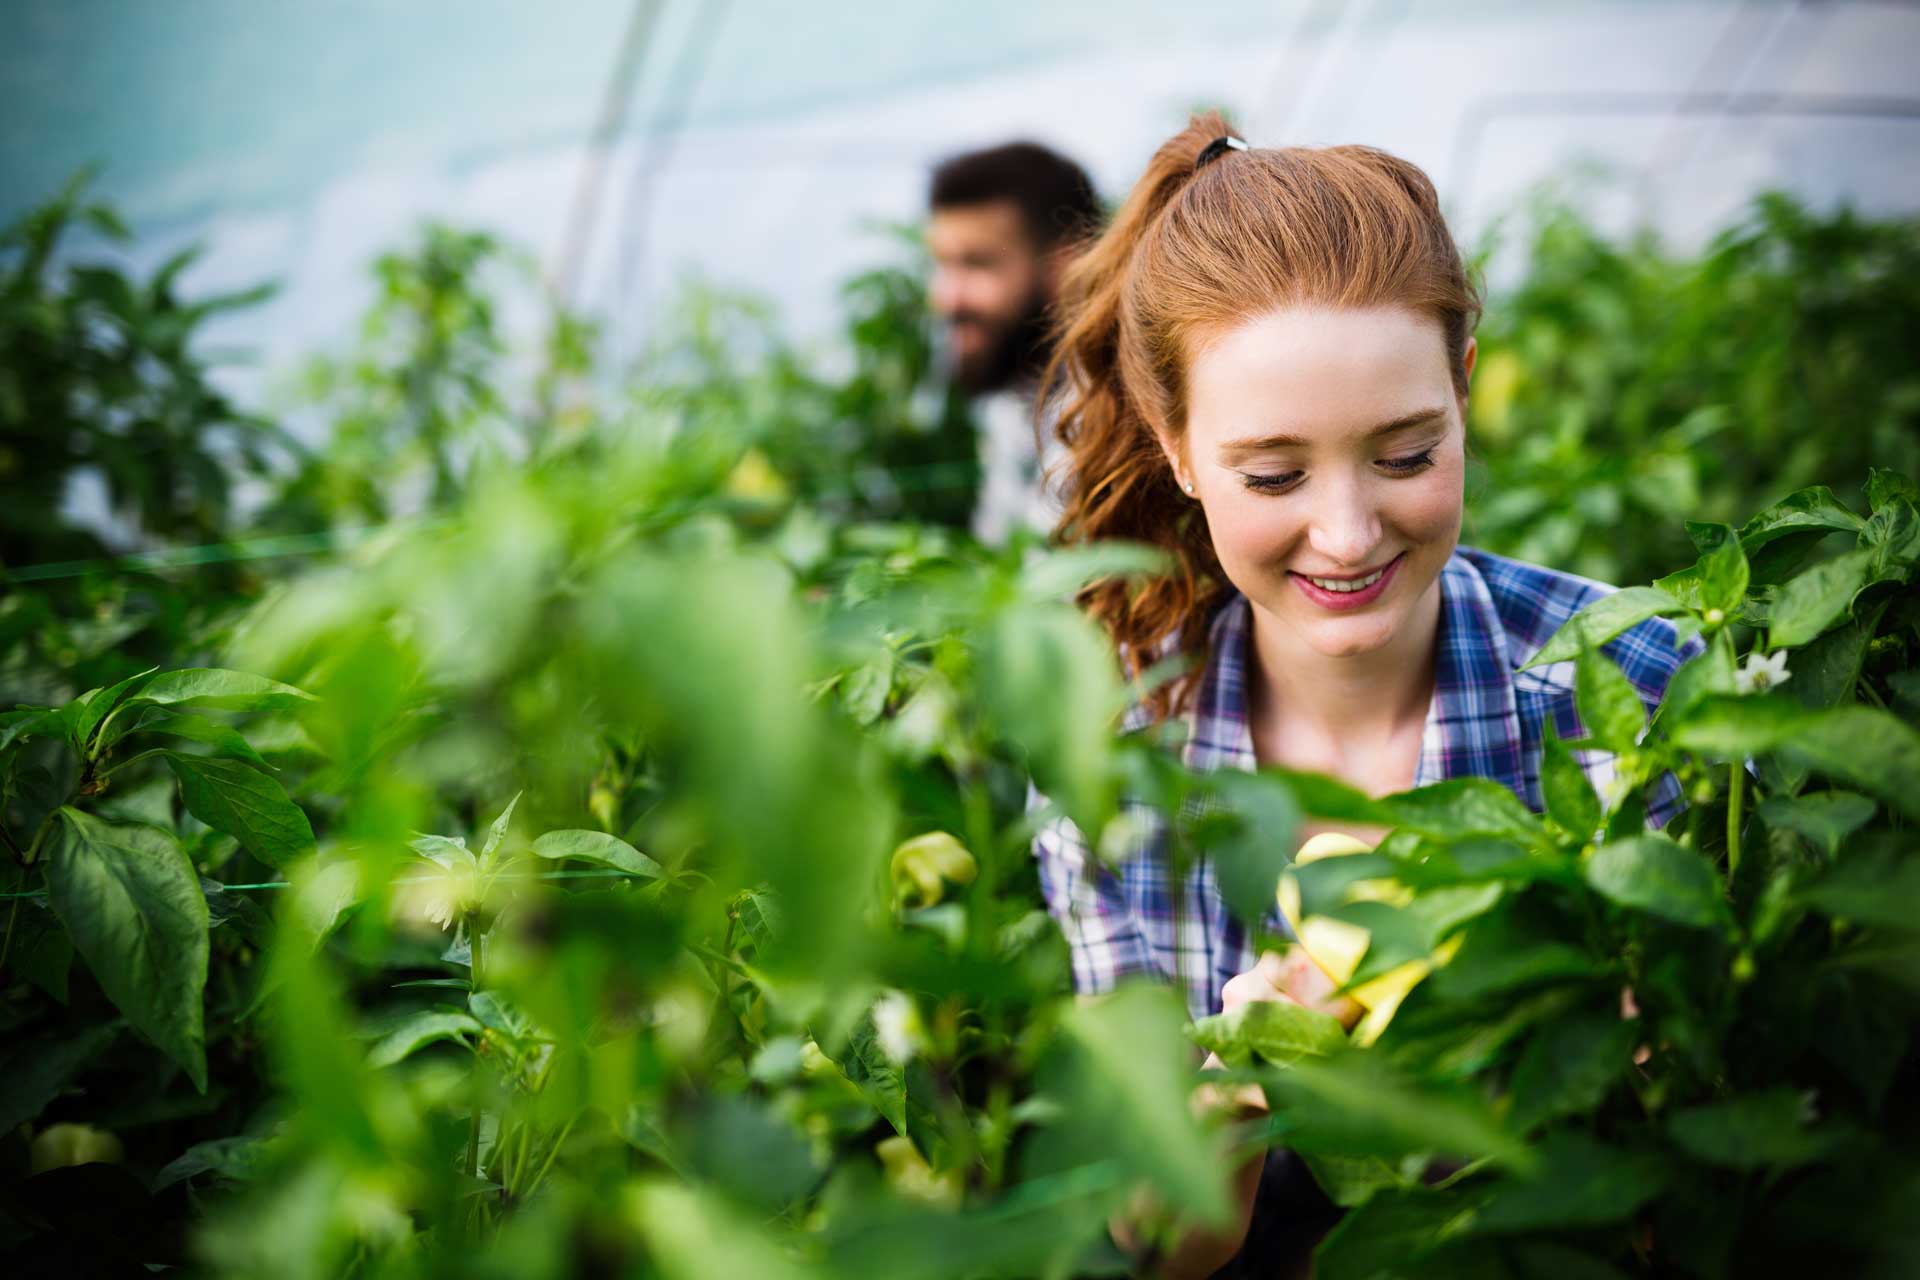
When evaluating seed companies and suppliers, I look for reliability and a commitment to organic practices. One of the most important factors to consider is seed quality. It is essential to choose a company that offers high-quality seeds to ensure successful growth and a healthy harvest. Look for companies that provide detailed information about their seed production methods and perform regular quality control checks. Another important aspect to consider is seed prices. While it can be tempting to go for the cheapest option, it is crucial to compare prices while also considering the quality of the seeds. Sometimes, paying a little more for better quality seeds can make a significant difference in the success of your garden. Take the time to evaluate different companies and suppliers to find the best options for your organic vegetable garden.
Choosing the Right Varieties for Your Climate
As I evaluate seed companies and suppliers for my organic vegetable garden, it is crucial to consider the right varieties for my climate. Climate adaptation plays a significant role in the success of my garden, so I need to choose seeds that are well-suited to the conditions in my area. Here are some key factors to consider when selecting seeds for my climate:
- Temperature tolerance: Look for varieties that can withstand the highs and lows of your climate. Some plants thrive in hot summers, while others prefer cooler temperatures.
- Frost resistance: If you experience frost in your area, choose seeds that are resistant to cold temperatures. This will ensure that your plants survive the winter.
- Rainfall requirements: Different plants have different water needs. Consider the average rainfall in your region and choose seeds that are adapted to those conditions.
- Season length: Some plants require a longer growing season, while others can be harvested in a shorter period. Take into account the length of your growing season when selecting seeds.
Tips for Starting Seeds Indoors
When starting seeds indoors, it is crucial to create optimal growing conditions. This includes providing adequate light, temperature, and humidity levels. Additionally, seedling care essentials such as proper watering, ventilation, and gentle handling are important to ensure healthy growth. Finally, timing for transplanting is crucial to ensure that your seedlings are ready for the outdoor garden.
Optimal Indoor Growing Conditions
To ensure successful growth of organic vegetable seeds indoors, it is important that I provide optimal growing conditions. Here are some tips for creating the ideal environment:
-
Maintain an optimal temperature: Most organic vegetable seeds require a temperature range of 65-75°F (18-24°C) for germination and growth. Use a thermometer to monitor and adjust the temperature accordingly.
-
Provide adequate lighting: Since natural sunlight may be limited indoors, invest in grow lights to provide sufficient illumination for the seeds. Position the lights approximately 2-4 inches above the plants and keep them on for 14-16 hours a day.
-
Ensure proper air circulation: Good air circulation prevents fungal diseases and promotes healthy growth. Use a small fan to create gentle airflow around the seedlings.
-
Regularly water the seeds: Keep the soil evenly moist but not waterlogged. Avoid overwatering, as it can lead to root rot and other issues.
Seedling Care Essentials
I recommend providing the proper care essentials for seedlings by regularly monitoring their growth and ensuring they receive adequate water, light, and nutrients. Seedling watering is a crucial aspect of their care. It is important to keep the soil consistently moist, but not overly saturated, as this can lead to root rot. Water the seedlings gently, using a spray bottle or a watering can with a fine nozzle, to avoid disturbing the delicate roots. Additionally, seedling lighting is essential for their healthy development. Place the seedlings in a location where they can receive at least 12-16 hours of bright, indirect light each day. If natural light is insufficient, consider using grow lights to provide the necessary light intensity. Regularly adjusting the height of the lights will ensure that the seedlings receive optimal lighting conditions for proper growth.
Timing for Transplanting
After ensuring proper seedling care essentials, such as monitoring their growth and providing adequate water, light, and nutrients, the next step is to determine the timing for transplanting the seedlings indoors. Transplanting techniques can greatly impact the success of your vegetable garden, so it’s important to get the timing right. Here are some tips to help you determine the best time for transplanting:
- Consider the recommended transplanting dates for each vegetable variety. Different plants have different requirements, so it’s crucial to follow the guidelines specific to each type of vegetable.
- Take into account the local climate and weather conditions. Transplanting should be done when the risk of frost has passed and the soil has warmed up sufficiently.
- Observe the development of the seedlings. They should have at least two sets of true leaves and be sturdy enough to handle the transplanting process.
- Plan your transplanting schedule based on the desired harvesting time. Consider the days to maturity for each vegetable and work backward to determine the ideal transplanting date.
Direct Sowing: Planting Seeds in the Garden
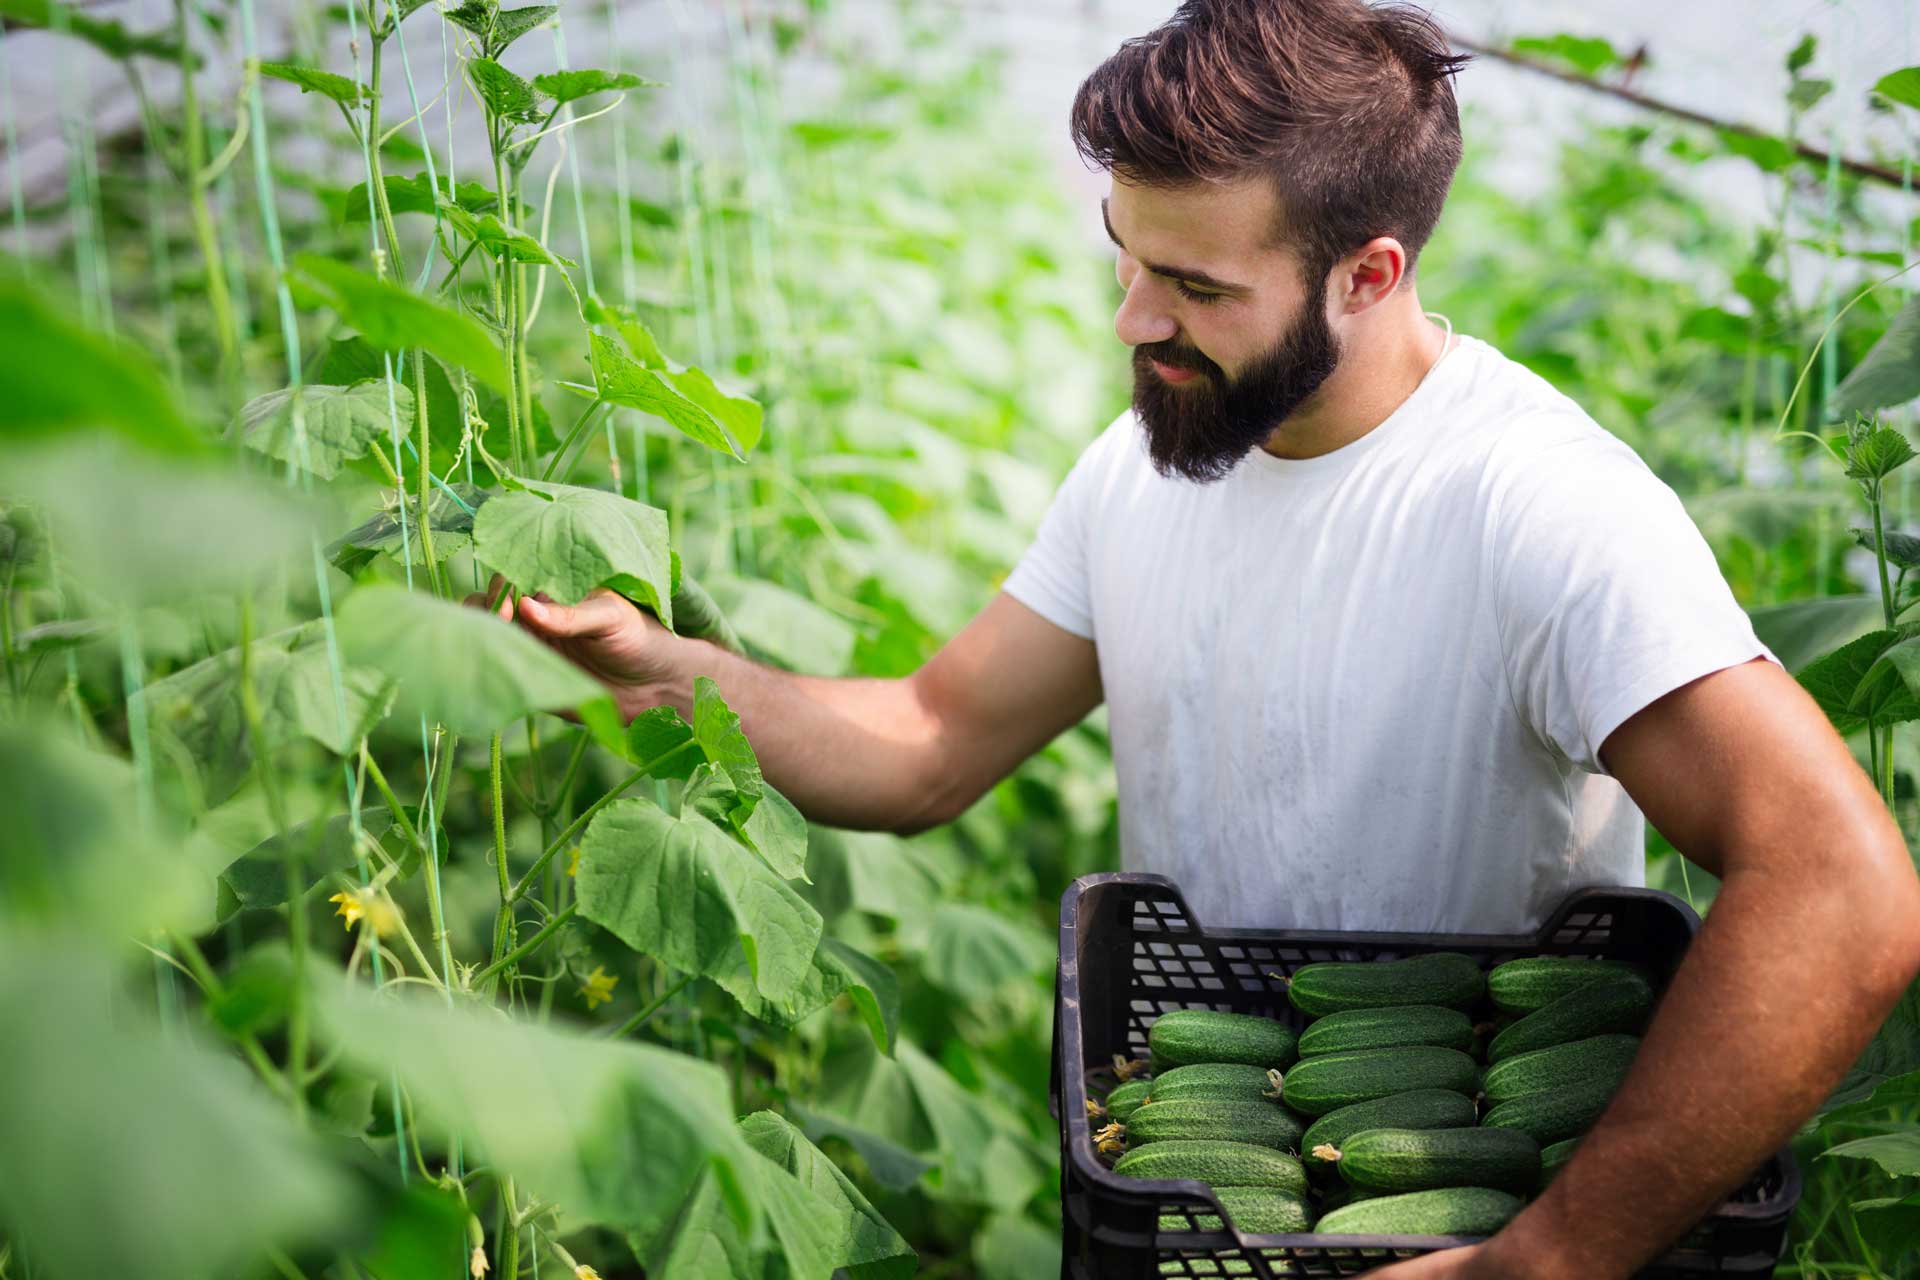
One can easily plant organic vegetable seeds directly in the garden. Direct sowing offers several benefits, including cost-effectiveness and simplicity. By sowing seeds directly into the soil, you eliminate the need for transplanting, saving time and effort. It also allows for better root development, as the seedlings grow in their natural environment from the start. To ensure successful direct sowing, it is important to follow a few techniques. First, prepare the soil by removing any weeds and loosening it with a garden fork. Next, create furrows or holes according to the seed packet instructions. Place the seeds at the appropriate depth and cover them with soil. Finally, water gently and keep the soil moist until the seeds germinate. With these direct sowing techniques, you can enjoy a thriving organic vegetable garden.
Soil Preparation for Organic Seed Planting
Continuing from the previous subtopic, let’s now delve into the important task of preparing the soil for planting organic seeds. When it comes to preparing the soil, there are a few key steps you should follow:
- Start by removing any weeds or unwanted vegetation from the area. This will ensure that your organic seeds have the best chance of thriving.
- Next, you’ll want to loosen the soil using a garden fork or tiller. This will allow for better drainage and root penetration.
- Once the soil is loosened, it’s time to add organic matter. Composting techniques such as using compost or well-rotted manure can greatly improve the soil’s fertility and structure.
- Lastly, make sure to mix the organic matter into the soil thoroughly, ensuring it is evenly distributed.
Watering and Fertilizing Organic Vegetable Seeds
To ensure optimal growth and nutrition, I water and fertilize my organic vegetable seeds diligently. Proper watering techniques are essential for the health and development of the plants. I make sure to water the seeds regularly, keeping the soil moist but not waterlogged. Overwatering can lead to root rot and other diseases, so it’s important to find the right balance. Additionally, I use organic fertilizers to provide the necessary nutrients for the plants. These fertilizers are derived from natural sources such as compost, manure, and bone meal. They help promote healthy growth and improve soil fertility. Here is a table summarizing some popular organic fertilizers:
| Organic Fertilizer | Source | Nutrient Content |
|---|---|---|
| Compost | Decomposed | Nitrogen, |
| organic matter | phosphorus, | |
| potassium | ||
| Manure | Animal waste | Nitrogen, |
| products | phosphorus, | |
| potassium | ||
| Bone Meal | Ground bones | Phosphorus |
Protecting Your Seedlings From Pests and Diseases
When it comes to protecting your seedlings from pests and diseases, there are a few key points to consider. First, utilizing natural pest control methods can be highly effective, such as introducing beneficial insects or using organic sprays and repellents. Additionally, implementing disease prevention techniques, like rotating crops, practicing good sanitation, and selecting disease-resistant varieties, can help ensure the health and survival of your seedlings.
Natural Pest Control Methods
I protect my organic vegetable seedlings from pests and diseases using natural pest control methods. Here are some effective techniques I employ:
-
Companion Planting: I strategically plant certain flowers and herbs alongside my vegetable seedlings to deter pests. For example, marigolds repel aphids and nematodes, while basil repels flies and mosquitoes.
-
Biological Control Methods: I introduce beneficial insects, such as ladybugs and lacewings, to my garden to predate on harmful pests like aphids and caterpillars. I also use organic sprays made from neem oil or garlic to control pests.
-
Physical Barriers: I use row covers or netting to physically block pests from reaching my seedlings. This prevents them from laying eggs or feeding on the plants.
-
Crop Rotation: I rotate my vegetable crops each year to disrupt pest life cycles. This helps prevent the buildup of pest populations in the soil.
Disease Prevention Techniques
Implementing disease prevention techniques is essential for protecting my organic vegetable seedlings from pests and diseases. Preventing diseases starts with choosing disease-resistant seed varieties. Look for seeds that have been bred to resist common diseases in your area. Proper spacing between plants allows for good air circulation, reducing the risk of diseases. Additionally, practicing crop rotation helps prevent the buildup of diseases in the soil. Controlling pests is another crucial aspect of disease prevention. Regularly inspect your plants for signs of pest damage and take immediate action. You can use organic pest control methods such as handpicking pests, applying insecticidal soap, or using natural predators. Mulching around plants can also discourage pest activity. By implementing these disease prevention techniques and controlling pests, you can ensure the health and vitality of your organic vegetable seedlings.
Managing Weeds in Your Organic Seed Garden
- As a gardener, my number one priority is maintaining a weed-free environment in my organic seed garden. To achieve this, I employ various techniques that effectively manage weeds without the use of harmful chemicals. Here are some practical methods I use:
-
Mulching Techniques for Weed Suppression: I cover the soil around my plants with a thick layer of organic mulch, such as straw or wood chips. This helps to smother weeds by blocking their sunlight, preventing them from germinating and growing.
-
Companion Planting for Weed Management: I carefully choose companion plants that naturally deter weeds. For example, planting marigolds or nasturtiums alongside my vegetables helps to suppress weed growth due to their strong scent and ability to repel pests.
-
Regular Hand Weeding: I regularly inspect my garden and remove any weeds by hand. This allows me to target specific weeds and prevent them from spreading and competing with my organic seedlings.
-
Proper Soil Preparation: By ensuring my soil is well-nourished and friable, I create an environment that favors my vegetable plants over weeds. This includes adding organic matter such as compost and maintaining proper soil pH levels.
Transplanting Seedlings to the Garden
To ensure the successful growth of my organic vegetable seedlings, I continue the process by transplanting them into the garden. Transplanting seedlings can be a delicate process, as they are prone to transplant shock. To prevent transplant shock, it is important to handle the seedlings with care and minimize root disturbance. Before transplanting, I make sure to water the seedlings thoroughly to ensure they are well-hydrated. It is also crucial to harden off the seedlings before transplanting them into the garden. Hardening off techniques involve gradually exposing the seedlings to outdoor conditions, such as sunlight, wind, and temperature fluctuations. This helps the seedlings adapt to the harsher conditions in the garden, reducing the risk of transplant shock. By following these steps, I can ensure the successful transition of my seedlings into the garden and promote their healthy growth.
Proper Spacing and Thinning for Healthy Growth
After transplanting my organic vegetable seedlings into the garden, I ensure proper spacing and thinning for healthy growth. Proper spacing techniques are essential to allow each plant enough room to grow and access sunlight, air, and nutrients. Here are some key tips for spacing your organic vegetables:
- Follow the spacing recommendations on the seed packet or plant label to determine the ideal distance between plants.
- Consider the mature size of the plants when spacing them. Some vegetables, like tomatoes and peppers, need more space than others.
- Use a measuring tape or ruler to ensure consistent spacing between plants.
- Leave enough space between rows to allow for easy access and maintenance.
Thinning methods are also crucial for healthy growth. Thinning involves removing excess seedlings to give the remaining plants adequate space and resources to thrive. Here are some thinning tips:
- Thin seedlings when they have developed their first true leaves.
- Gently remove the weaker seedlings, leaving only the strongest and healthiest ones.
- Thin gradually, allowing the remaining seedlings to adjust and fill the empty spaces.
Tips for Successful Organic Seed Germination
As I continue discussing the topic of successful organic seed germination, it is important to understand the key factors that contribute to the growth and development of your vegetable seeds. To ensure successful germination, it is crucial to employ proper germination techniques and use the right seed starting equipment.
Firstly, when it comes to germination techniques, moisture and temperature are vital. Seeds need to be kept consistently moist but not waterlogged. One effective method is to cover the seeds with a thin layer of vermiculite, which helps retain moisture while allowing air circulation.
Secondly, using the right seed starting equipment is essential. Invest in quality seed trays or containers with drainage holes to prevent waterlogging. Additionally, using a sterile seed starting mix or compost will help provide the ideal growing medium for the seeds.
Harvesting and Saving Seeds for Future Planting
When it comes to harvesting and saving seeds for future planting, there are a few important points to keep in mind. First, proper seed storage is essential to maintain their viability. I will discuss tips on how to store seeds to ensure their longevity. Additionally, it’s crucial to test the viability of saved seeds before planting them to ensure a successful germination. Lastly, preventing cross-pollination is necessary to maintain the purity of the seeds. I will provide practical methods to avoid cross-pollination in your garden.
Seed Storage Tips
I personally find it essential to store harvested organic vegetable seeds properly for future planting. By following proper seed storage techniques, we can extend the seed shelf life and ensure the viability of our seeds for the next growing season. Here are some practical tips for storing your organic vegetable seeds:
- Keep seeds in a cool and dry place, away from moisture and direct sunlight. Airtight containers or glass jars with tight lids work best.
- Label each container with the seed variety and date of harvest to maintain organization and track the seed’s age.
- Consider adding moisture-absorbing packets or silica gel to prevent moisture buildup.
- Store seeds in a refrigerator or freezer for longer shelf life, but make sure they are properly dried and sealed in moisture-proof containers.
Seed Viability Testing
One crucial step in preserving harvested organic vegetable seeds for future planting is to test their viability. By determining seed quality, you can ensure that only the best seeds are saved and used for future crops. There are several seed viability testing methods that can be used to assess the germination potential of the seeds. One simple method is the “float test,” where you place the seeds in water and discard the ones that float, as they are likely not viable. Another method is the “seed germination test,” where you plant a sample of the seeds and monitor their germination rate. This will give you an idea of the overall viability of the seed batch. By testing the viability of your harvested seeds, you can confidently save and use only the highest quality seeds for future planting.
Cross-Pollination Prevention
To prevent cross-pollination and ensure the purity of your saved seeds for future planting, it is important to implement specific harvesting and saving techniques. Here are some practical methods for maintaining seed purity:
- Isolation: Separate different varieties of vegetables by distance or barriers to prevent their pollen from mixing.
- Timing: Plant crops that require different pollination periods at different times to minimize the chances of cross-pollination.
- Bagging: Covering flowers with fine mesh bags can prevent insects from transferring pollen between plants.
- Hand Pollination: If cross-pollination is a concern, manually transfer pollen from the male flower of one plant to the female flower of the same plant.
Troubleshooting Common Seedling Problems
If you are experiencing issues with your seedlings, it can be helpful to identify and address common problems early on in the growing process. Two common problems that seedlings can face are seedling diseases and seedling nutrient deficiencies. Seedling diseases can manifest as damping-off, a condition where the seedlings become weak and eventually collapse due to fungal infection. To prevent this, make sure to use sterilized soil and containers, maintain proper air circulation, and avoid overwatering. On the other hand, seedling nutrient deficiencies can result in stunted growth, yellowing leaves, and poor overall health. To address this, provide your seedlings with a balanced organic fertilizer and ensure they receive adequate sunlight and water. Regularly monitoring your seedlings and promptly addressing any issues can greatly increase their chances of healthy growth.