

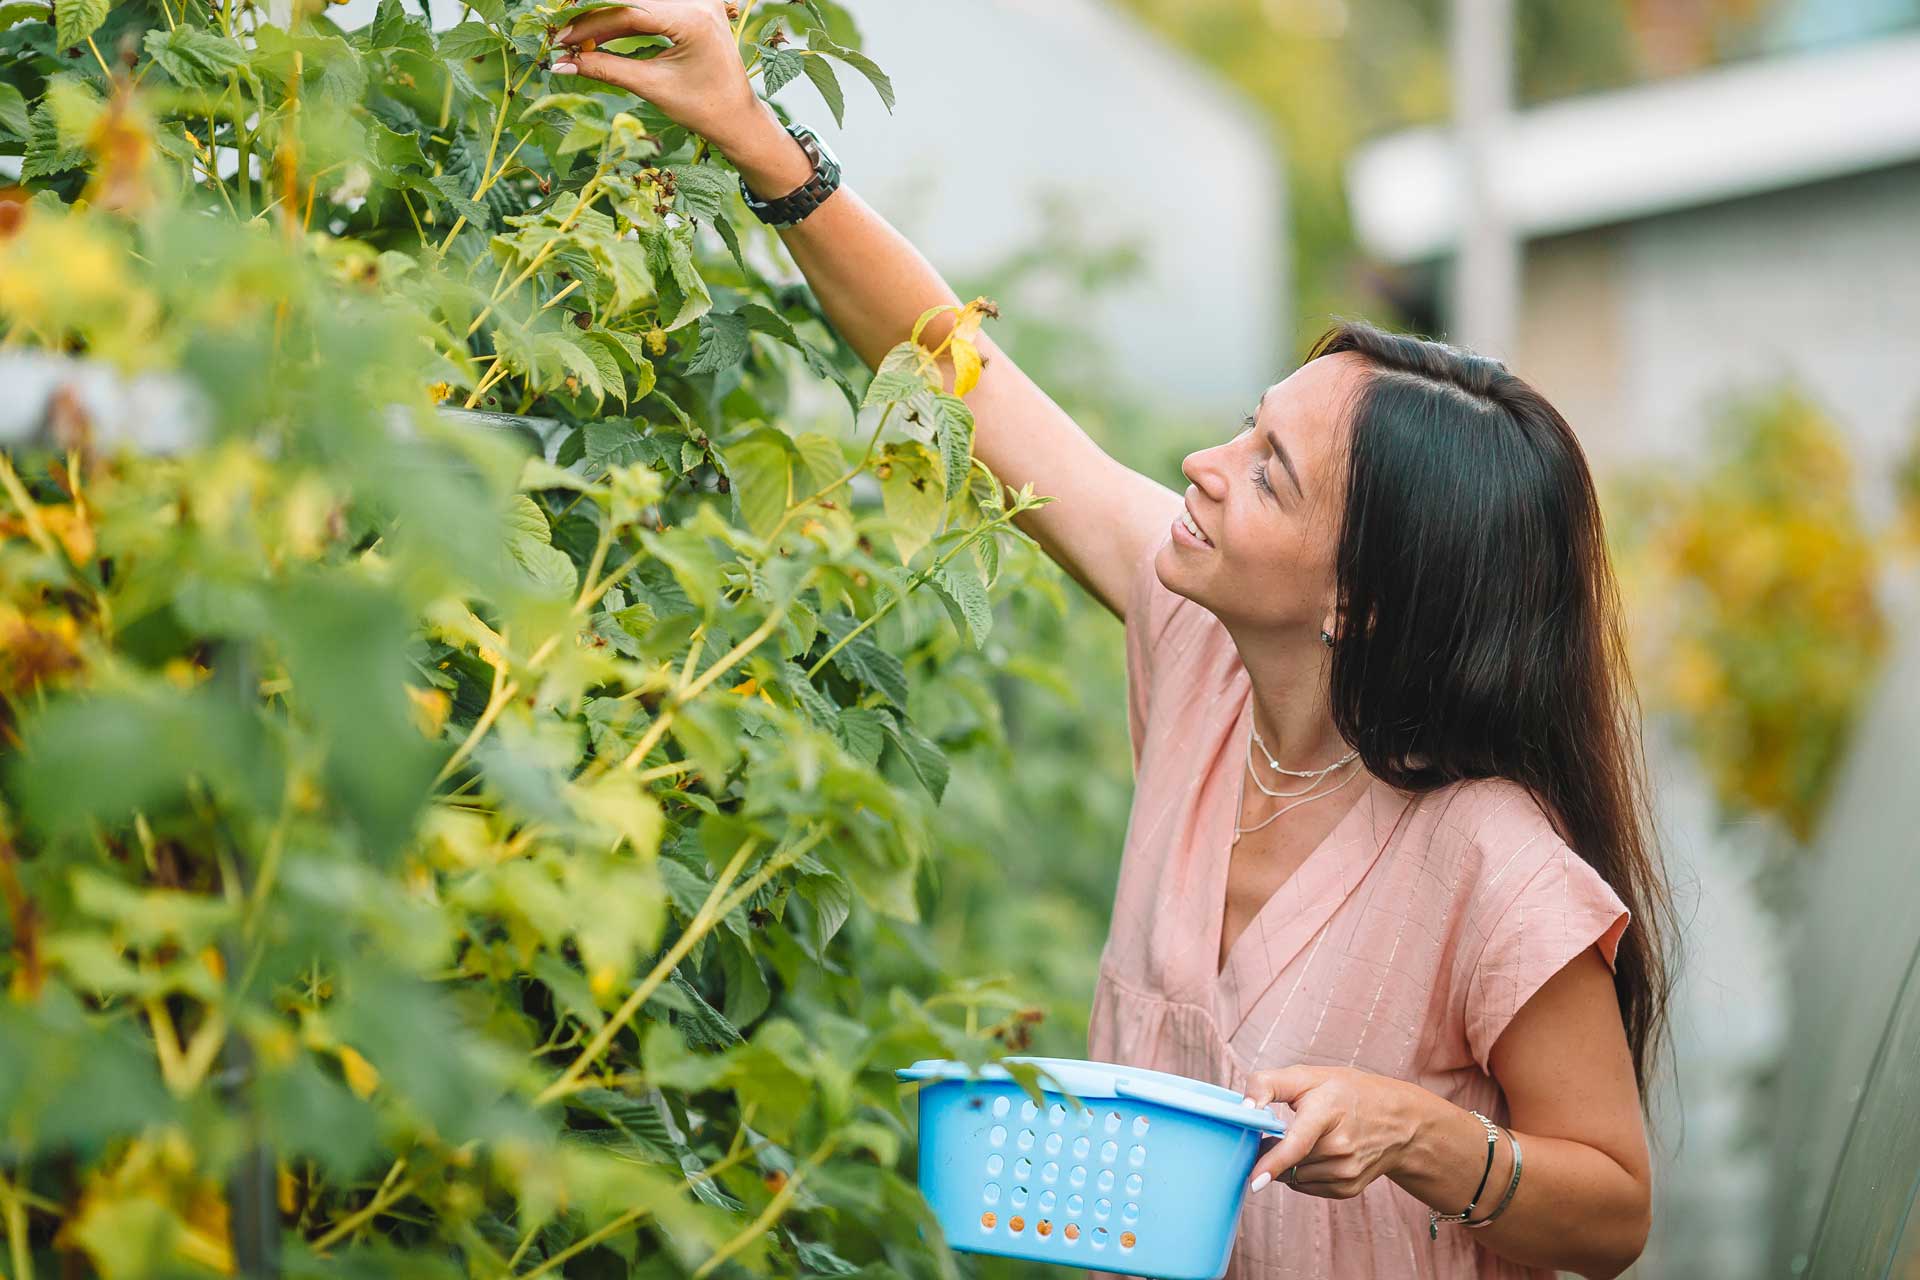
I’ve discovered the top 14 techniques for storing my homegrown organic veggies, and let me tell you, it’s a game-changer. From canning to freezing, dehydrating to pickling, these methods ensure my hard work in the garden doesn’t go to waste. With a little oil preservation and refrigeration, my veggies stay fresh and delicious. And when it comes to long-term storage, drying and cellar storage are the way to go. Get ready to become a pro at preserving your harvest!
Canning
I love canning my homegrown organic veggies to preserve their freshness and flavor throughout the year. Canning is a great way to extend the shelf life of your produce while maintaining its nutritional value. To ensure successful canning, it is important to follow proper canning techniques and prioritize safety. Start by selecting the best vegetables at their peak ripeness. Wash them thoroughly and remove any blemishes. Next, choose the appropriate canning method, whether it’s water bath canning for high-acid vegetables or pressure canning for low-acid ones. Follow the recipe and processing times carefully to prevent the growth of harmful bacteria. Always use sterilized jars and lids to avoid contamination. Lastly, store your canned vegetables in a cool, dark place to maintain their quality. By following these canning techniques and prioritizing safety, you can enjoy the taste of your homegrown organic veggies all year long.
Freezing
When it comes to storing homegrown organic veggies, freezing is one of the most convenient and effective methods. Proper freezing methods ensure that your vegetables retain their flavor, texture, and nutritional value for an extended period of time. This allows for long-term storage options, making it easier to enjoy your homegrown produce throughout the year. Plus, certain vegetables like broccoli, peas, and corn freeze particularly well, making them ideal candidates for this preservation method.
Proper Freezing Methods
One effective method for preserving homegrown organic veggies is through proper freezing techniques. Freezing not only extends the shelf life of your produce but also helps retain its nutrients. Here are three essential steps to ensure your veggies stay fresh and flavorful:
-
Blanching: Start by blanching your vegetables in boiling water for a short period of time. This process helps maintain the color, texture, and flavor while also preserving the vitamins and minerals.
-
Cooling: Immediately after blanching, transfer the veggies to an ice bath to stop the cooking process. This step helps maintain the crispness and prevents them from becoming mushy.
-
Packaging: Once cooled, drain the vegetables and pack them in airtight freezer bags or containers. Remove as much air as possible to prevent freezer burn and label each package with the name and date.
Long-Term Storage Options
For long-term storage of homegrown organic veggies, freezing is a reliable method. It helps to preserve the freshness and nutritional value of the vegetables, allowing you to enjoy them throughout the year. To make the most of this storage option, it’s important to follow proper freezing techniques. First, ensure that the vegetables are blanched before freezing to retain their flavor and texture. Then, pack them in airtight containers or freezer bags to prevent freezer burn. For added convenience, consider creating a freezing schedule to keep track of the vegetables and their storage duration. To evoke an emotional response and make it easier for you to plan your freezing schedule, here’s a table highlighting the recommended storage durations for some common homegrown vegetables:
| Vegetable | Storage Duration |
|---|---|
| Carrots | 12-18 months |
| Green beans | 8-12 months |
| Peas | 8-12 months |
| Broccoli | 12-18 months |
| Spinach | 8-12 months |
Best Vegetables to Freeze
I freeze a variety of vegetables from my homegrown organic garden to ensure their long-term preservation. Freezing vegetables not only helps to retain their nutritional value but also allows me to enjoy the taste of my harvest throughout the year. Here are the best vegetables to freeze:
- Peas: These little green pods freeze wonderfully and can be used in soups, stews, and stir-fries.
- Green Beans: Crisp and flavorful, green beans can be blanched and frozen for later use in salads or side dishes.
- Corn: Sweet and juicy, corn on the cob can be blanched and frozen, or the kernels can be cut off and stored for easy use in recipes.
The benefits of freezing vegetables are numerous. It helps to lock in the freshness, flavor, and nutrients of the vegetables. Additionally, freezing allows me to reduce waste by preserving excess produce. By freezing the best vegetables from my garden, I can enjoy their goodness all year round.
Dehydrating
When dehydrating homegrown organic veggies, it’s important to use a subordinating conjunction to preserve their flavors and nutrients. One of the best dehydrating techniques is to slice the vegetables into thin, uniform pieces. This ensures even drying and helps to retain their natural taste. Another technique is to blanch the veggies before dehydrating them. Blanching helps to preserve the color, texture, and nutrients of the vegetables. It involves briefly immersing the vegetables in boiling water, followed by a quick transfer to an ice bath to stop the cooking process. The benefits of dehydrating vegetables are numerous. Dehydrated veggies have a longer shelf life compared to fresh ones, making them a convenient option for long-term storage. They are also lightweight and take up less space, making them ideal for backpacking trips or emergency food supplies. Moreover, dehydrated vegetables retain most of their nutrients, making them a healthy choice for snacking or adding to recipes.
Fermenting
When it comes to storing homegrown organic veggies, fermenting is a technique that shouldn’t be overlooked. Not only does fermentation offer numerous health benefits, but there are also different methods you can use to ferment your vegetables, such as lacto-fermentation and brine fermentation. Some of the best vegetables for fermenting include cabbage, carrots, cucumbers, and radishes. So grab your mason jars and get ready to preserve your harvest in a delicious and nutritious way!
Health Benefits of Fermentation
One of the key benefits of fermentation is that it enhances the nutritional value of homegrown organic veggies. Fermentation is a natural process that involves the breakdown of carbohydrates by microorganisms like bacteria, yeast, or fungi. This process brings about several health benefits:
-
Increased nutrient availability: Fermentation breaks down complex nutrients into simpler forms that are easier for our bodies to absorb. This means that fermented veggies provide a higher concentration of vitamins, minerals, and antioxidants compared to their raw counterparts.
-
Improved digestion: The fermentation process produces enzymes that aid in digestion, making it easier for our bodies to break down and absorb nutrients from the veggies.
-
Gut health promotion: Fermented veggies are rich in beneficial bacteria, which help maintain a healthy balance of gut flora. This can improve digestion, boost immune function, and support overall gut health.
Different Fermentation Methods
I frequently use various fermentation methods to preserve and enhance the flavor of my homegrown organic veggies. Fermentation not only adds a tangy and complex taste to vegetables but also offers numerous health benefits. Different fermentation techniques can be used, depending on the vegetables and personal preference. Here are three popular methods:
| Fermentation Method | Description |
|---|---|
| Salt Brine Fermentation | In this method, vegetables are submerged in a saltwater solution. The salt helps create an environment where beneficial bacteria can thrive, leading to the fermentation process. |
| Whey Fermentation | Whey, the liquid left after straining yogurt or kefir, can be used as a starter culture for fermentation. It provides beneficial bacteria and enzymes that aid in the fermentation process. |
| Lacto-Fermentation | This method relies on lactobacillus, a type of beneficial bacteria, to ferment the vegetables. It is a natural fermentation process that occurs without the use of additional starter cultures. |
Best Vegetables for Fermenting
As I continue exploring different fermentation techniques for preserving and enhancing the flavor of my homegrown organic veggies, it’s important to consider the best vegetables for fermenting. Fermenting vegetables not only extends their shelf life but also provides numerous health benefits. Here are the top three veggies that work exceptionally well for fermentation:
-
Cabbage: Cabbage is a popular choice for fermentation, especially for making sauerkraut and kimchi. It is packed with essential nutrients and promotes healthy digestion due to its high fiber content.
-
Carrots: Carrots add a vibrant color and a subtle sweetness to fermented dishes. They are rich in vitamins and antioxidants, making them a nutritious addition to any ferment.
-
Cucumbers: Crisp and refreshing, cucumbers are perfect for making pickles. They are low in calories and high in hydration, making them an excellent choice for a healthy snack.
Pickling
To preserve the freshness and flavor of homegrown organic veggies, pickling is an excellent technique to consider. Pickling helps to extend the shelf life of vegetables while adding a tangy and flavorful twist. There are various pickling techniques you can try, such as vinegar-based pickling, lacto-fermentation, and quick pickling. For vinegar-based pickling, you can use a combination of vinegar, water, salt, and spices to create a brine that will infuse the vegetables with flavor. Lacto-fermentation involves using saltwater brine to encourage the growth of beneficial bacteria, resulting in a tangy and probiotic-rich pickle. Quick pickling, on the other hand, involves using a vinegar and sugar solution to quickly pickle vegetables in the refrigerator. Experiment with different pickling recipes and techniques to find the flavors that suit your taste buds best.
Root Cellaring
When it comes to storing homegrown organic veggies, one technique that stands out is root cellaring. Root cellaring provides ideal storage conditions for certain vegetables, allowing them to stay fresh for extended periods of time. It is important to know which vegetables are best suited for root cellaring in order to maximize their shelf life and nutritional value.
Ideal Storage Conditions
I store my homegrown organic veggies in a root cellar to provide the ideal storage conditions. To maintain the freshness and quality of my vegetables, I make sure to control the temperature and humidity levels. Here are the key factors that contribute to the ideal storage conditions:
-
Temperature: The root cellar should be kept at a consistent temperature between 32°F (0°C) and 40°F (4°C). This cool temperature helps slow down the ripening process and prevents spoilage.
-
Humidity Control: It is important to maintain a humidity level of around 85-95%. This high humidity helps keep the vegetables from drying out and maintains their crispness.
-
Ventilation: Proper ventilation is essential to prevent the buildup of ethylene gas, which promotes ripening and can lead to spoilage. I ensure good air circulation in the root cellar by using vents or fans.
Best Vegetables for Root Cellaring
The top vegetables for root cellaring include a variety of crops that thrive in the cool and humid conditions of a root cellar. These vegetables are known for their long storage life and ability to retain their flavor and nutritional value. Some of the best vegetables for root cellaring are potatoes, carrots, beets, onions, and winter squash. These vegetables are not only delicious and versatile in the kitchen, but they also offer a range of health benefits. By canning or freezing these vegetables, you can extend their shelf life even further and enjoy their taste and nutritional value throughout the year. Canning preserves the vegetables by sealing them in jars, while freezing locks in their freshness by reducing the activity of enzymes that cause spoilage. So, if you’re looking to stock up on homegrown organic veggies, consider root cellaring and preserving the best vegetables for canning or freezing.
Vacuum Sealing
To maximize the freshness and longevity of my homegrown organic veggies, I rely on the technique of vacuum sealing. Vacuum sealing offers numerous benefits when it comes to storing vegetables. Here are three reasons why I find it so effective:
-
Preservation of Nutrients: Vacuum sealing removes oxygen from the packaging, helping to preserve the nutritional value of the vegetables. This means that when I finally use them, they are just as nutritious as the day I harvested them.
-
Extended Shelf Life: By eliminating oxygen and sealing the veggies in airtight bags, vacuum sealing helps to inhibit the growth of bacteria, mold, and other spoilage-causing microorganisms. This extends the shelf life of my vegetables, allowing me to enjoy them for longer periods.
-
Equipment: To vacuum seal my veggies, I use a vacuum sealer machine. This device sucks the air out of the bags and creates a tight seal. There are various types of vacuum sealing equipment available, including handheld sealers and countertop machines.
Blanching
When it comes to storing homegrown organic veggies, blanching is a technique that can help preserve their color, retain freshness and flavor, and inhibit bacterial growth. Blanching involves briefly boiling the vegetables and then quickly cooling them in ice water to stop the cooking process. This method helps to destroy enzymes that can cause the vegetables to lose their vibrant color and become dull and unappetizing. Additionally, blanching helps to maintain the fresh taste and texture of the vegetables while also reducing the risk of bacterial contamination.
Preserving Vegetable Color
I love preserving the vibrant color of my homegrown organic veggies by blanching them. Blanching not only helps retain the nutrients in the vegetables but also prevents discoloration, ensuring that they look as appetizing as they taste. Here are three simple steps to preserve the color of your veggies:
-
Prepare a pot of boiling water and a bowl of ice water. The boiling water will help blanch the vegetables, while the ice water will stop the cooking process and lock in their vibrant color.
-
Drop the vegetables into the boiling water and let them cook for a short period, usually around 1-2 minutes. This blanching process will help preserve the nutrients while preventing them from turning dull.
-
Immediately transfer the blanched vegetables into the ice water to cool them down rapidly. This step halts the cooking process and helps retain their bright, vivid color.
Retaining Freshness and Flavor
One effective technique for retaining the freshness and flavor of homegrown organic veggies is by blanching them. Blanching involves briefly boiling the vegetables and then immediately plunging them into ice water to stop the cooking process. This method helps to preserve the nutritional value of the vegetables while also reducing food waste.
Blanching is particularly beneficial for vegetables that will be stored for longer periods of time. It helps to deactivate enzymes that can cause the vegetables to spoil and lose their flavor. By blanching and then freezing the vegetables, you can extend their shelf life and enjoy them throughout the year.
To blanch vegetables, start by bringing a pot of water to a boil. While the water is heating up, prepare an ice water bath. Once the water is boiling, add the vegetables and blanch them for a specific amount of time, depending on the vegetable. Then, quickly transfer them to the ice water bath to cool them down. Once cooled, drain the vegetables and freeze them in airtight containers or freezer bags.
Inhibiting Bacterial Growth
To continue preserving the freshness and flavor of homegrown organic veggies, blanching is an effective technique for inhibiting bacterial growth. Blanching involves briefly immersing the vegetables in boiling water, followed by rapid cooling in ice water. This process helps to kill any existing bacteria on the surface of the vegetables and slows down the growth of bacteria that can cause spoilage.
Here are three reasons why blanching is a valuable step in the preservation process:
- Inhibits bacterial growth: Blanching destroys the enzymes that can lead to bacterial growth, keeping your vegetables fresh for longer.
- Retains color and texture: Blanching helps to maintain the vibrant color and crispness of the vegetables, making them more visually appealing and enjoyable to eat.
- Prepares vegetables for freezing: Blanching is a crucial step before freezing vegetables, as it helps to preserve their quality during storage.
Salting
Using the salting method is an effective way to preserve and enhance the flavor of homegrown organic veggies. Not only does salting act as a natural preservative, but it also has numerous health benefits. The process of salting draws out excess moisture from the vegetables, creating an environment that inhibits the growth of harmful bacteria. Additionally, salt helps to retain the vibrant colors and textures of the veggies, ensuring that they look as good as they taste. There are different salting methods you can choose from, depending on your preference and the type of vegetables you are preserving. Here is a table comparing three popular salting methods:
| Salting Method | Description | Best Veggies to Use |
|---|---|---|
| Dry Salting | Coating veggies in salt and allowing them to sit for a period of time. | Cucumbers, cabbage, eggplant |
| Brine Salting | Soaking veggies in a saltwater solution. | Carrots, green beans, radishes |
| Fermented Salting | Using a saltwater solution to create a pickling brine that ferments over time. | Peppers, onions, cauliflower |
Cold Storage
Cold storage is an effective method for preserving the freshness and quality of homegrown organic veggies. Proper handling and temperature control are key to successfully storing your produce. Here are three important tips for cold storage:
-
Choose the right temperature: Different veggies require different temperatures for optimal storage. Most vegetables thrive in temperatures between 32°F and 40°F (0°C and 4°C). However, some vegetables like carrots and beets prefer slightly higher temperatures, around 32°F to 50°F (0°C to 10°C). It’s important to research the ideal temperature for each vegetable to ensure maximum freshness.
-
Use the right containers: Invest in breathable storage containers or bags to prevent moisture build-up and mold growth. Plastic bags with small holes or mesh bags are great options. Avoid using airtight containers, as they can trap moisture and promote spoilage.
-
Separate ethylene producers: Some vegetables, like tomatoes and apples, produce a natural gas called ethylene, which speeds up the ripening process of other fruits and vegetables. To prevent premature spoilage, store ethylene-producing vegetables separately from other produce.
Oil Preservation
For preserving homegrown organic veggies, one effective technique is oil preservation. This method not only helps extend the shelf life of your vegetables but also provides numerous health benefits. When vegetables are preserved in oil, they are protected from air and moisture, which can cause spoilage. Additionally, the oil acts as a barrier against bacteria and other microorganisms. There are different methods you can use for oil preservation. One method is to blanch the vegetables, cool them, and then store them in a jar filled with oil. Another method involves cooking the vegetables in oil and then transferring them to a jar. Regardless of the method you choose, it is important to use fresh, high-quality oil and ensure that the vegetables are fully submerged to prevent spoilage. Oil preservation is a simple yet effective way to store your homegrown organic veggies while retaining their flavor and nutritional value.
Refrigeration
I frequently store my homegrown organic veggies in the refrigerator to keep them fresh and crisp. Refrigeration is an excellent way to preserve the freshness of your harvest, extending its shelf life and ensuring that you can enjoy your homegrown produce for longer. Here are three tips for using refrigeration to preserve the quality of your veggies:
-
Temperature control: Set your refrigerator to the optimal temperature of 40°F (4°C) to prevent your veggies from spoiling too quickly.
-
Proper packaging: Place your veggies in breathable containers or perforated plastic bags to allow for air circulation and prevent moisture buildup, which can lead to rotting.
-
Separation: Store different types of vegetables separately to prevent them from releasing ethylene gas, which can cause other veggies to ripen and spoil faster.
Drying
To continue preserving the quality of my homegrown organic veggies, I also utilize the technique of drying. Drying is a great way to extend the shelf life of vegetables by removing the moisture content, which helps inhibit the growth of bacteria and mold. Not only does drying help in storage, but it also retains the nutritional value of the veggies. The health benefits of drying include increased fiber content and higher concentrations of vitamins and minerals. There are different methods of drying vegetables, including air drying, sun drying, and using a food dehydrator. Each method has its own advantages and disadvantages, so it’s important to choose the one that suits your needs and resources. Below is a table summarizing the different drying methods:
| Drying Method | Advantages | Disadvantages |
|---|---|---|
| Air drying | No special equipment | Slower drying process |
| Sun drying | Cost-effective | Weather-dependent |
| Food dehydrator | Quick and efficient | Requires electricity |
Cellar Storage
Cellar storage provides an ideal environment for preserving homegrown organic veggies. The cool and consistent cellar temperature helps to maintain the freshness and flavor of the produce. When organizing your root cellar, consider the following tips:
-
Temperature control: Keep the cellar temperature between 32 and 40 degrees Fahrenheit to prevent wilting or freezing of the vegetables. Use a thermometer to monitor the temperature regularly.
-
Air circulation: Ensure proper air circulation by leaving enough space between the stored vegetables. This helps prevent the buildup of moisture and mold.
-
Storage containers: Use sturdy, breathable containers such as wooden crates or mesh bags for storing root crops. Avoid plastic bags as they can trap moisture and cause rot.