

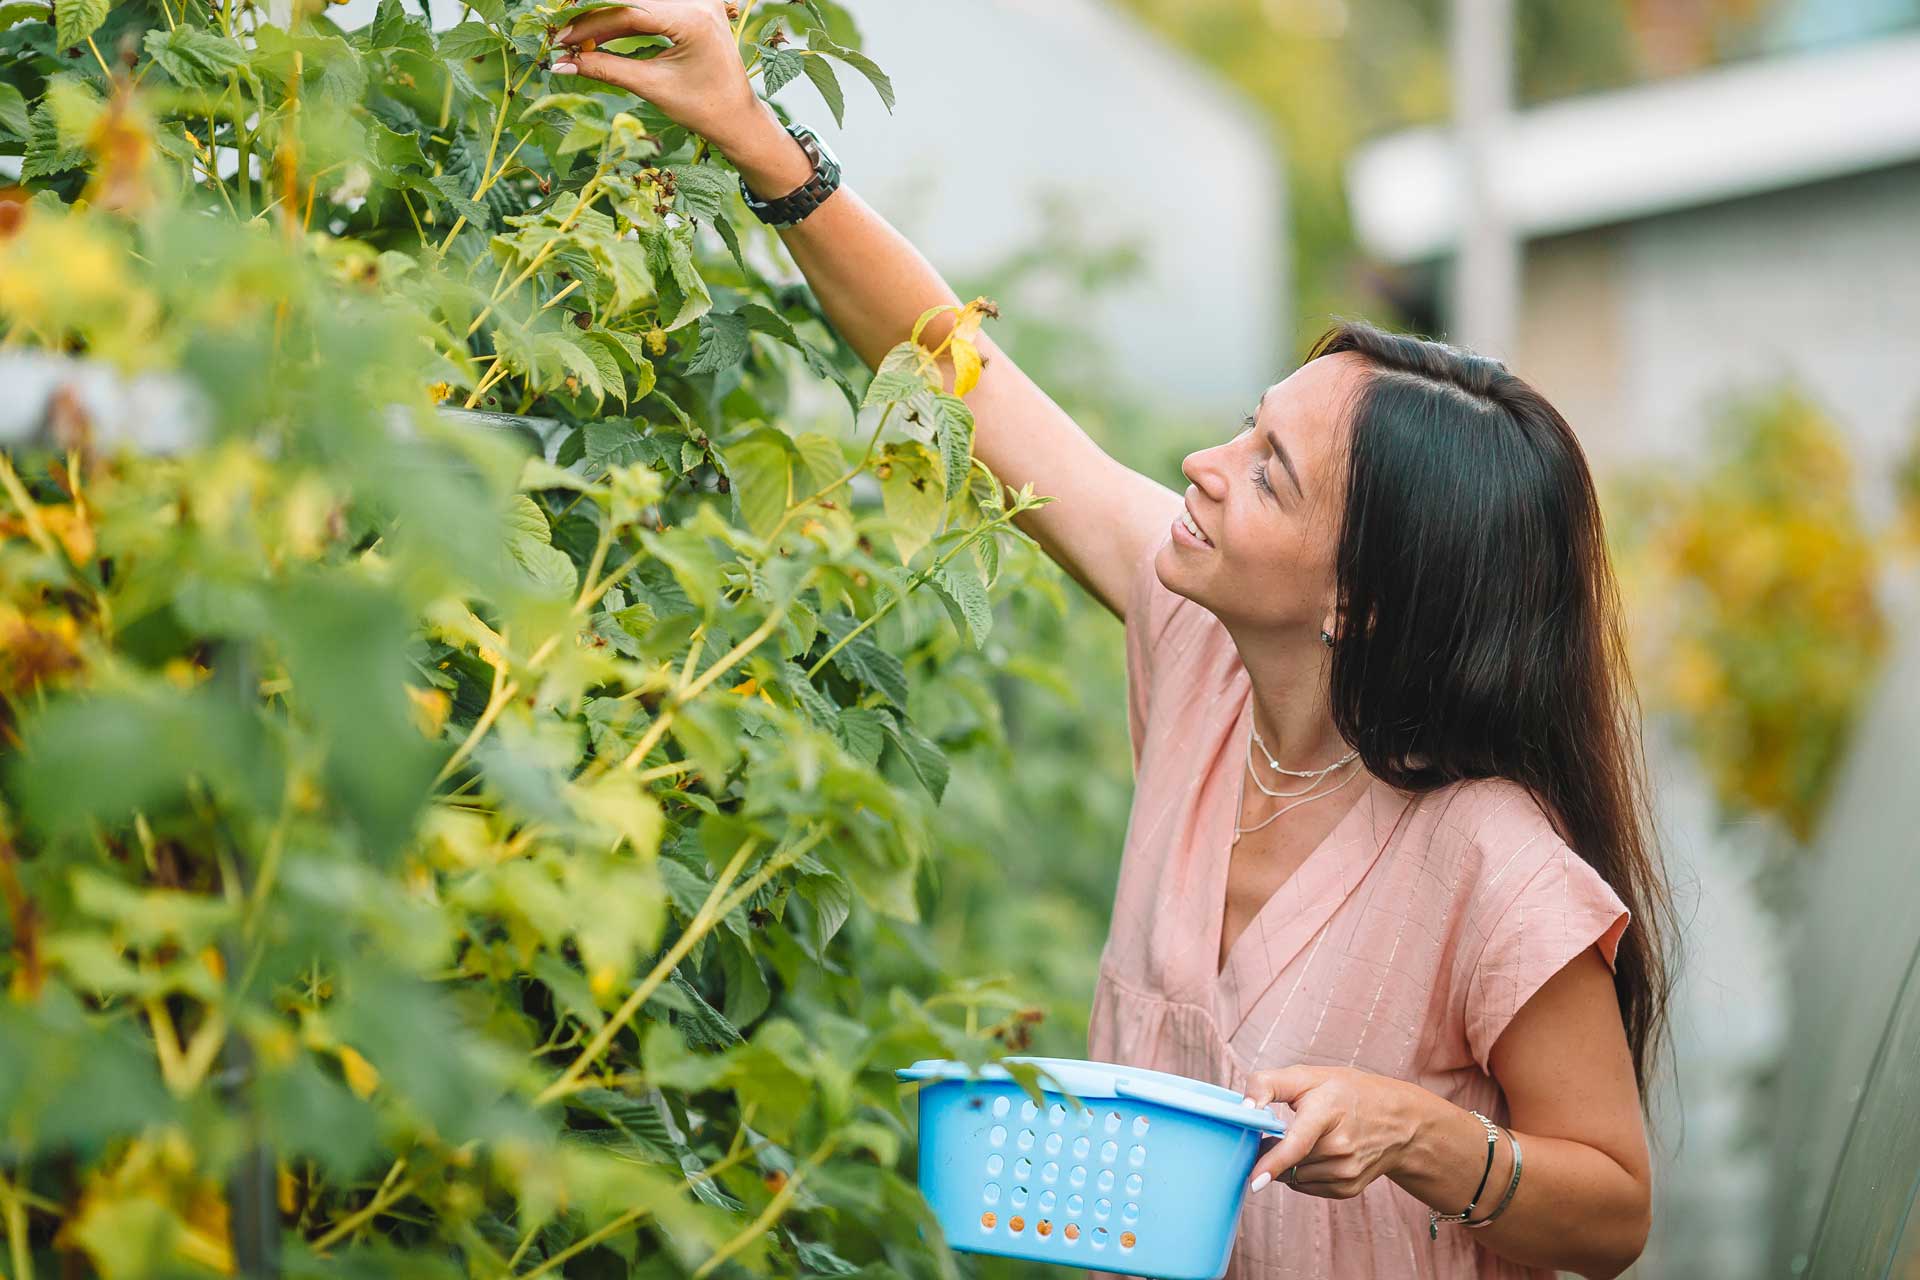
I love growing my own organic veggies, but finding ways to store them can be tricky. That’s why I’ve gathered the top strategies for keeping your homegrown goodness fresh all year round. From canning and freezing to root cellaring and dehydrating, there are so many ways to make your harvest last. And don’t worry, I’ll show you how to do it step by step. Get ready to preserve your veggies like a pro!
Canning
Canning is an effective method for preserving homegrown organic veggies. Not only does it help extend the shelf life of your produce, but it also retains their nutritional value. When it comes to canning, safety should be your top priority. Make sure to sterilize your canning jars and lids before use to prevent the growth of harmful bacteria. It is also crucial to follow proper canning techniques, such as using the correct amount of headspace and processing times. As for canning equipment, you will need a large pot for boiling the jars, a jar lifter to safely remove them from hot water, and a canning funnel for easy filling. Additionally, a bubble remover and a magnetic lid lifter can come in handy. By following these safety measures and having the right equipment on hand, you can successfully preserve your homegrown organic veggies through canning.
Freezing
Another effective strategy for preserving homegrown organic veggies is freezing. Freezing vegetables helps retain their nutrients and flavors, allowing you to enjoy them throughout the year. To ensure the best results, follow these steps:
-
Vegetable Blanching:
-
Blanching helps preserve the texture, color, and flavor of vegetables before freezing.
-
Boil a pot of water and blanch the veggies for a brief period, usually 1-5 minutes, depending on the vegetable.
-
Quickly transfer the blanched veggies to an ice bath to stop the cooking process.
-
Freezer Containers:
-
Choose freezer-safe containers or bags that are airtight to prevent freezer burn.
-
Leave some headspace in the containers to allow for expansion during freezing.
-
Label the containers with the vegetable type and date to keep track of freshness.
Root Cellaring
Root cellaring is a traditional method of storing homegrown organic veggies that involves creating optimal conditions for long-term storage. To successfully root cellar your crops, you’ll need to find a cool, dark, and humid space, with a temperature range between 32-40°F and a humidity level of around 85-95%. It’s important to choose the right crops for root cellaring, such as potatoes, carrots, beets, and onions, as they have a longer shelf life and can withstand the specific conditions required.
Optimal Root Cellar Conditions
Maintaining ideal conditions is essential for successful root cellaring. To ensure the longevity and freshness of your homegrown organic veggies, here are some key factors to consider:
-
Moisture control:
-
Keep humidity levels between 85-95% to prevent wilting or drying out of the vegetables.
-
Avoid excessive moisture that can lead to rot or mold growth.
-
Regularly check for condensation and address any moisture issues promptly.
-
Temperature regulation:
-
Maintain a consistent temperature of around 32-40°F (0-4°C) to slow down the vegetable’s natural ripening process.
-
Avoid freezing temperatures as they can cause cell damage and spoilage.
-
Use a thermometer to monitor and adjust the temperature as needed.
Choosing Root Cellar Crops
To ensure successful root cellaring, I prioritize selecting a variety of crops that are suitable for storage in my root cellar. When choosing root cellar crops, it’s important to consider their storage capabilities and longevity. Some of the best root cellar crops are those that have a long shelf life and can withstand the cool and humid conditions of a root cellar. Here are some examples of crops that are ideal for root cellaring:
| Crop | Storage Technique | Shelf Life |
|---|---|---|
| Potatoes | Store in a dark, cool, and humid environment | 4-6 months |
| Carrots | Remove the tops and store in a container filled with sand or sawdust | 4-6 months |
| Beets | Remove the greens and store in damp sand or soil | 3-4 months |
| Onions | Store in a cool and dry place with good ventilation | 6-8 months |
Dehydrating
How can I effectively dehydrate my homegrown organic veggies for long-term storage? Dehydrating is a great way to preserve your vegetables and retain their nutritional value. Here are some practical tips to help you get started:
-
Using an air fryer: An air fryer can be a convenient tool for dehydrating vegetables. Simply slice your veggies into thin, uniform pieces and place them in a single layer in the air fryer basket. Set the temperature to the lowest setting and let them dry out until they become crispy and brittle.
-
Preserving with salt: Another method is to dehydrate your vegetables using salt. This technique involves coating your sliced veggies with a layer of salt, which draws out the moisture. After a few hours, rinse off the excess salt and lay your vegetables on a drying rack or parchment paper to air dry.
-
Oven drying: If you don’t have an air fryer, you can also use your oven to dehydrate your vegetables. Set the temperature to the lowest setting and place your sliced veggies on a baking sheet lined with parchment paper. Leave the oven door slightly ajar to allow moisture to escape and let them dry for several hours.
Dehydrating your homegrown organic vegetables is not only a practical way to store them long-term but also a great way to enjoy the flavors of your garden all year round.
Fermenting
One effective method for long-term storage of homegrown organic veggies is to ferment them. Fermenting not only preserves the vegetables but also enhances their flavor and nutritional value. There are several health benefits associated with fermenting vegetables. The fermentation process increases the bioavailability of nutrients, making it easier for our bodies to absorb them. It also promotes the growth of beneficial bacteria in our gut, which can improve digestion and boost our immune system. To start fermenting your veggies, you will need some basic equipment. A fermentation crock or jar, salt, and water are the essentials. You can also add spices, herbs, or other flavorings to enhance the taste. With the right equipment and a little patience, you can enjoy the benefits of fermented vegetables all year round.
Pickling
Now let’s explore another method for storing your homegrown organic veggies: pickling. Pickling is a fantastic way to preserve your harvest and enjoy the flavors of your vegetables all year round. Here are some pickling techniques and recipes to inspire you:
- Quick Pickling: This technique involves submerging your veggies in a mixture of vinegar, water, salt, and spices for a short period of time. It’s perfect for those who want a tangy and crunchy pickle in a hurry.
- Fermented Pickling: This method requires patience but results in a complex and tangy flavor. By using a brine of saltwater, you create an environment for beneficial bacteria to thrive and transform your veggies into probiotic-rich treats.
- Sweet Pickling: If you prefer a milder taste, try sweet pickling. This involves adding sugar or honey to the brine, giving your pickles a touch of sweetness.
With these pickling techniques and recipes, you can make the most of your homegrown organic veggies and enjoy their deliciousness throughout the year.
Vacuum Sealing
Continuing from the previous subtopic on pickling, let’s explore another effective method for storing your homegrown organic veggies: vacuum sealing. Vacuum sealing is a fantastic way to extend the shelf life of your produce and keep it fresh for longer periods. This method involves removing the air from the packaging, creating a tight seal that prevents spoilage and maintains the vegetables’ flavor and nutritional value.
To vacuum seal your veggies, you’ll need some equipment options. One popular choice is a vacuum sealer machine, which removes the air and seals the bags automatically. These machines are efficient and provide airtight packaging. Another option is using vacuum sealing bags or containers with a handheld vacuum sealer. These are more portable and suitable for smaller quantities of produce.
No matter which equipment you choose, vacuum sealing can significantly prolong the shelf life of your homegrown organic veggies, keeping them fresh and delicious for months to come.